How to Get a Motorcycle License in Japan – PART 2 Test Items and Final Exam
PART ONE Recap
In Part 1, I covered Japanese Motorcycle license types, school options, costs, and the basic setup.
Now let’s talk about what actually happens once you step into the school and start riding.
This guide focuses on:
- Standard Motorcycle License (400cc)
- Large Motorcycle License (unlimited cc)
I’ll walk you through the step-by-step training, what you do in each lesson, what the tests look like, and how to pass them!
1. Before you start: Teaching Style and Course Details
From Part 1 article, you already know there are two types of schools: normal certified driving schools and driving school camps. In addition, between normal certified driving schools, there are also different teaching styles.
- Some schools assign an instructor to follow a group of 4-5 students who are doing the same module, and provide close to 1:1 guidance to the students. In this case it is better for getting really personalized feedback, but faster students can be held back by slower students in the group who can’t move to the next step.
- Another teaching type assigns instructors to each module’s station, and the student will circle the course independently, and get coaching from all teachers/modules separately. The pace is faster, but students can feel more alone and not sure about what they are doing as the teachers’ attention is more split up.
- Some schools have motorcycle-dedicated course (like Rainbow Driving School Wako), whereas for Koyama schools, motorcycle students have to share a course with cars and trucks. It does not really impact teaching but sometimes may slow down or make the situation more confusing — but that is real life!
Understanding the type of teaching and suitability of your style (more hands-on 1:1 coaching or more independent) is important for your overall experience.
2. Overall structure: Stage 1 → Stage 2 → Graduation
The driving school splits into two stages, each ending with a “review lesson” (見極め, mikiwame) where an instructor evaluates if you’re ready to advance. You cannot skip ahead. Each lesson slot is 50 minutes. Most schools let you book 1–2 slots per day.
- Standard motorcycle (普通二輪): roughly 17 lessons total
- Large motorcycle (大型二輪): roughly 12 lessons if you hold the standard motorcycle license (written theory is waived)
These are stages:
- Stage 1 (First Stage) – Basic module trainings: basic handling, slow-speed maneuvers, technique teaching for trial run of technical items
- Stage 2 (Second Stage) – Technical course + route familiarization: get familiar with technical course and perfect techniques, memorize examination route A and B
- Final Assessment (見極め) – Internal check before final graduation exam
- Graduation Exam (卒業検定) – Pass → certificate → license center.
Both Standard and Large follow the same structure; the main difference is bike weight and a few extra items for Large Motorcycle License.
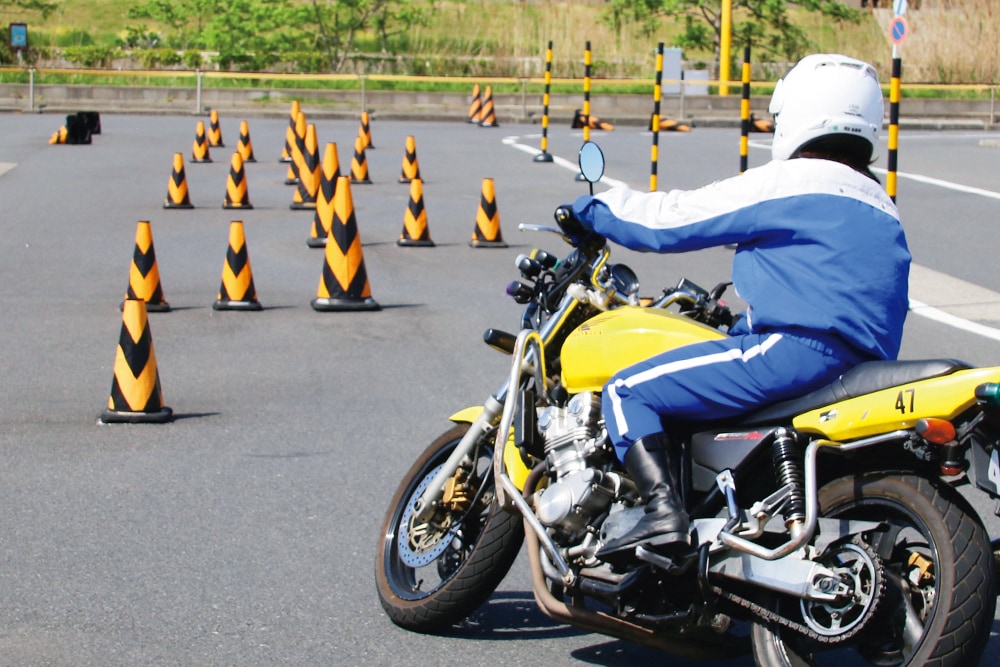
3. Stage 1: Day 1 – First time on the bike
What happens on Day 1
Typical schedule:
- Entrance ceremony / orientation
- Paperwork, school rules, gear explanation (you must wear all the school’s protector)
- You will receive 1-2 booklets on theory of the test items. You do not necessarily need to read them, but it can be helpful to get a sense of what the test items are, and if you are not good at Japanese it will help with following what instructor is teaching
Large license – Picking up the Bike (Day 1 test)
This is often the first “test” for Large license:
- Bike is laid on its side (~215 kg).
- You must lift it using the front-push method: Turn handlebars fully toward the ground. Squat, grab handlebar and frame, lift with your legs, not your back. Keep the bike close to your body.
- Goal: Show you can handle the weight safely.
After that, Lesson 1 covers: pushing the bike on foot, center stand operation, gear changes while stationary, and finally riding in 1st and 2nd gear around the course.
Tips:
- Use your legs: This is a leg exercise, not a back exercise.
- Practice: If you’re small or not very strong, do some squats and deadlifts before starting.
- Watch the video below to get a sense of how a 145cm Japanese YouTuber struggle with the 215kg big motorcycle on the 1st day
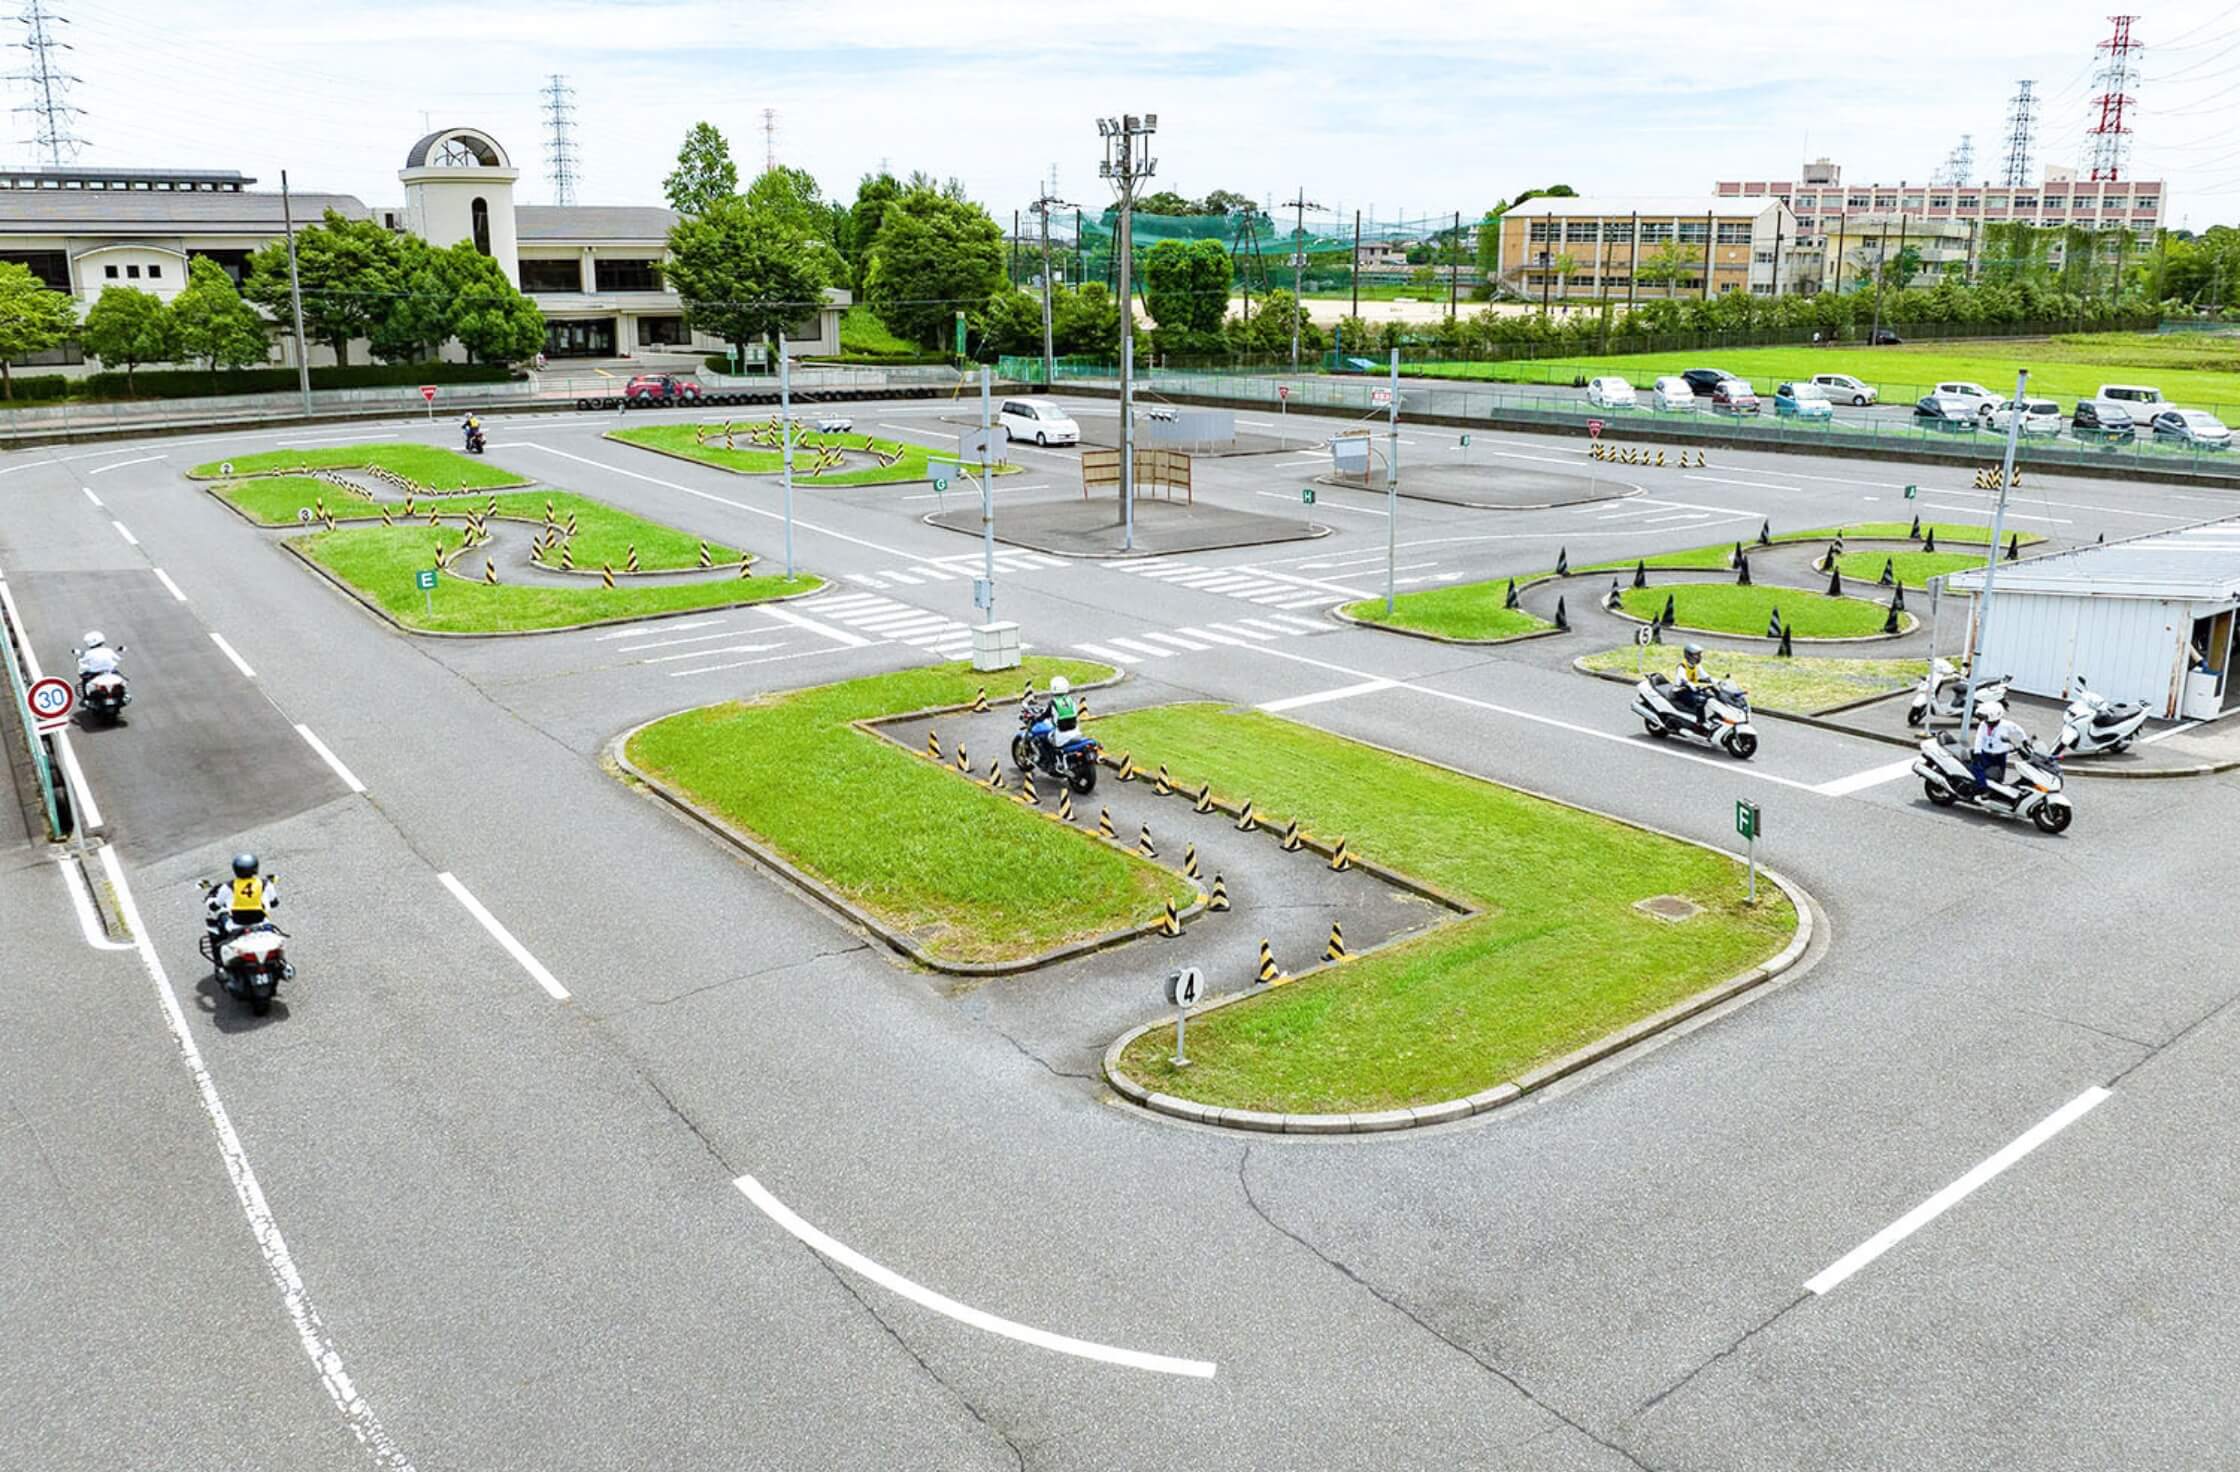
4. Stage 1 – Technical course basics
First Stage
These lessons pile on fast. You’ll be introduced to: one-plank bridge (一本橋), slalom (スラローム), hill start (坂道発進), crank course (クランク), S-curve (S字), figure-eight (8の字), and braking.
Don’t be surprised if this feels overwhelming. The instructors at most schools today are much friendlier than the old-school reputation suggests — they want you to succeed.
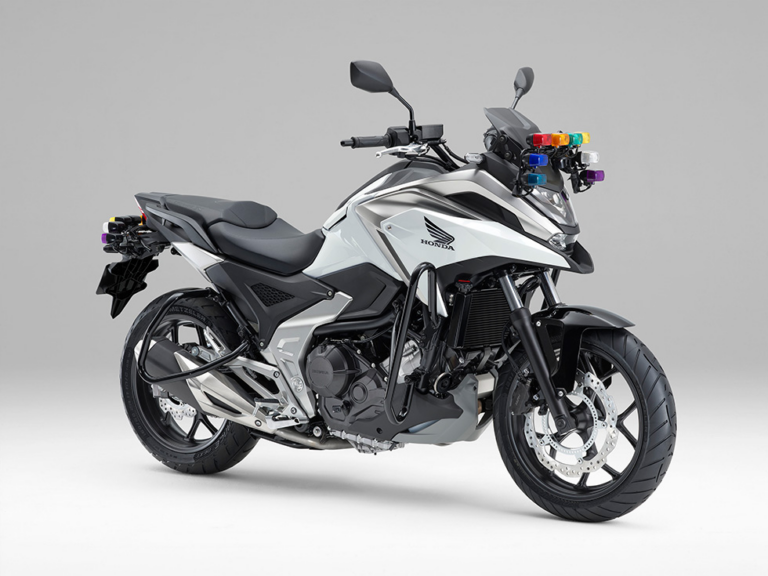
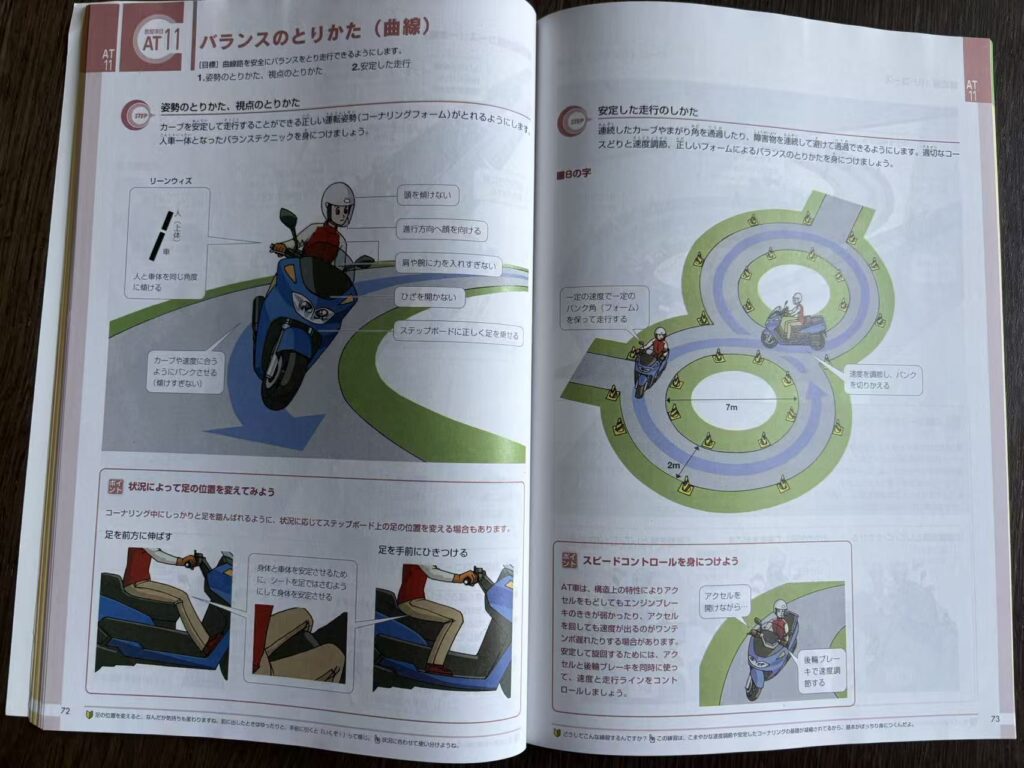
Lesson 3: AT (Automatic) Lesson
One lesson is dedicated to riding an automatic large-displacement bike. This is actually quite different from a manual — there’s no knee grip to help stabilize you. The tips here are to use your ankles to hold the bike steady and think of the center of gravity as being slightly behind the middle of the bike.
- Slalom (スラローム)
- Weave through 7 pylons spaced 4 meters apart. The maximum time allowed is 8 seconds for standard, 7 seconds for large motorcycle (i.e., you need to go faster on a bigger bike). Hitting a pylon or going over time is a deduction; knocking one over is an immediate fail.
- Goal: smooth rhythm, no cone hits, no foot down.
- The key motion: tilt the bike as you approach each pylon, then flick on/off the throttle as you straighten between them. Knee grip is essential here too. Watch YouTube videos before your lesson — seeing the rhythm makes a huge difference when you get on the bike.
Source and Credits: Tandem Style
- Plank test / Balance beam (一本橋) –> Many people fail here
- You have to ride across a narrow elevated plank (15cm wide, 15m long) without falling off. The minimum time requirement is 7 seconds for standard, 10 seconds for large motorcycle. Going faster than the minimum is a deduction; falling off is an immediate fail.
- The trick: don’t use the throttle to control speed — use the rear brake and half-clutch instead. Keep your upper body relaxed, look ahead (not down at the plank), and grip the tank with your knees. Most people struggle here because their instinct is to speed up when they feel unstable. Fight that instinct.
Source and Credits: ObaBike
- Crank (クランク)
- A tight L-shaped course with 90-degree corners. You need to navigate it without touching the pylons or putting your foot down. Immediate fail if you hit a pylon or fall.
- The crank especially requires getting your entry speed right before the turn, then using half-clutch (半クラッチ) through the corners.
- The single most important thing: slow down before entering. Most mistakes happen because people enter too fast and then panic mid-corner. Use half-clutch and keep your eyes on where you want to go — not the pylon you’re trying to avoid.
- Failure: Foot down or touching the cones is a fail item!
- S-curve (S字)
- Smooth S-shaped path. If you can do slalom, the S-curve is usually not a problem. Some schools will ask large bike license students to do the figure-8 instead. It is honestly quite fun to get to try new items. (;
- Goal: steady speed, no cone hits.
- Hill start (坂道発進)
- Stop on a slope, then start without rolling back.
- Goal: smooth clutch + throttle, no rollback, no stall
Tips:
- Knee grip: Hug the tank with your knees for stability in all slow maneuvers
- Half-clutch: Learn to hold the clutch at the friction point for precise speed control.
- Look where you want to go: Especially in crank and S-curve—look at the exit, not at the front wheel.
Lesson 5 is the Stage 1 review (見極め). You need to demonstrate all the skills above to a satisfactory standard to advance. If you don’t pass, you’ll repeat the lesson — which is normal and not a big deal.
5. Stage 2: Technical course + route familiarization
Stage 2 introduces more complex elements and starts simulating real road conditions, including a simulator session.
Lessons 6–10 cover: Riding simulation (シミュレーター), highway and night riding concepts, emergency braking (急制動), wave road (波状路 — for large motorcycle license only), and combined course riding.
The Stage 2 final review (also called 見極め) is your last checkpoint before the graduation exam. By this point, you need to reliably clear all obstacle courses and demonstrate smooth, safe riding.
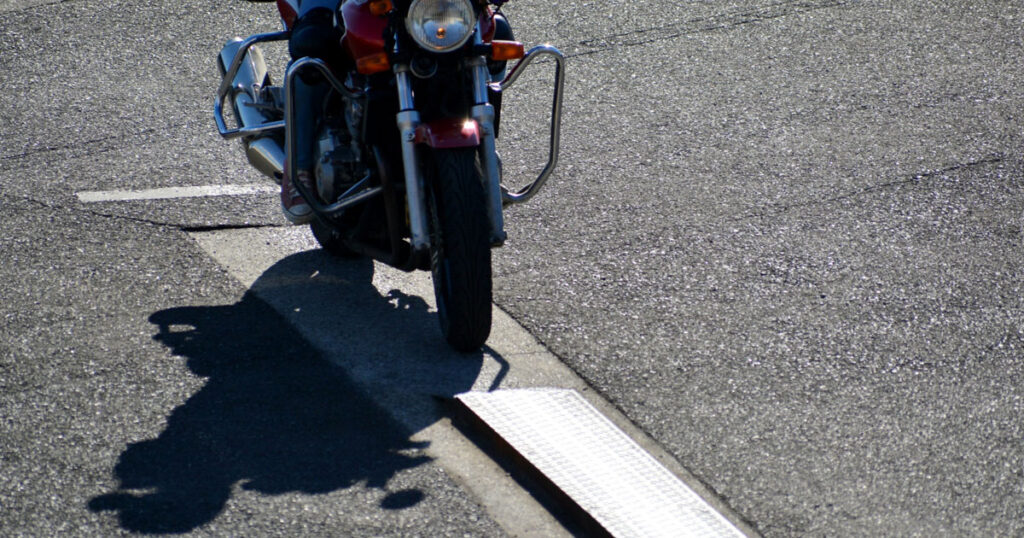
- Wave road (波状路)
- Large Motorcycle Only Ride over a series of raised bumps while standing on the pegs, without stalling or losing balance. Minimum time is 5 seconds. Stand up before you enter the wave section. Don’t go too slow — a bit of momentum actually helps you absorb the bumps.
- Goal: ≥5 seconds to cross, standing up, using intermittent clutch/throttle
- Wave road rhythm: Wrong clutch/throttle timing → bike stalls or you fall off line. Remember to cut throttle right after passing the step, and throttle again just when meeting the next step. There should be 10x throttle “boom”.
- Emergency braking (急制動)
- Accelerate to 40 km/h, then brake hard in a marked zone.For the standard license the stop zone is 11m; for the large motorcycle it’s the same distance but you’re on a heavier bike.
- Goal: reach 40 km/h, stop safely within the zone, no skid. Note that the bikes are not equipped with ABS so it is definitely possible to skid and break an arm here
- Tips: To pass, if you do not hit 40km/h, there is only one more chance to do it again. Not hitting the speed is a fail item! Some riders are too cautious and don’t hit the target speed in time. Get comfortable with turning the throttle and get to speed by 2nd gear, so by 3rd gear it is just cruising at ~41-42km/h.
- Brake balance: Too much rear brake → skid; too little front brake → can’t stop within the distance required. Use about 70% front, 30% rear brake to get the right balance.
- Evasion (回避)
- Accelerate to 40 km/h, then swerve around an obstacle.
- Goal: reach speed, avoid obstacle smoothly, no loss of control.
- This is not an exam item, but just to experience an emergency scenario
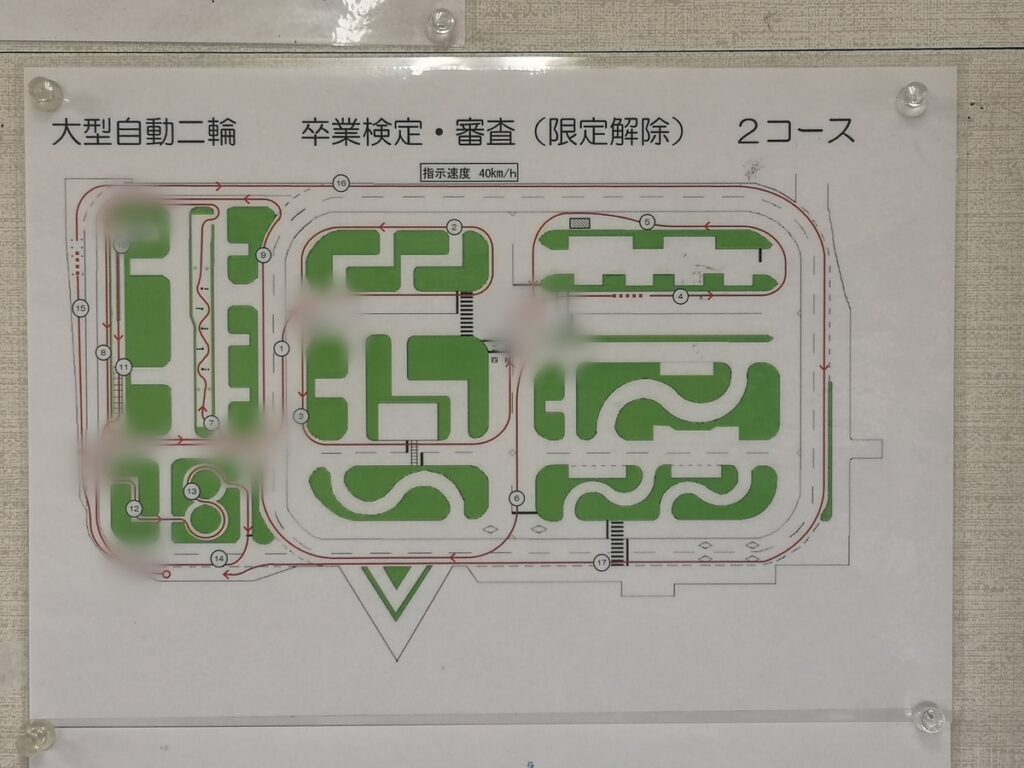
Course selection
During stage 2 you will also be required to memorize Course A and B, which simulates real road riding situations including traffic lights, right turns, and blind spots. It will also weave in some of the module test items.
Some schools have a motorcycle dedicated course which makes the situation less complicated, but overall you should be able to memorize the course after 2 lessons. Some schools have a YouTube channel that guides. Watch it!
The final exam day is basically a random selection between Course A or B.
Source and Credits: R35-yoshi blog
7. Internal Assessment and Graduation Exam (卒業検定)
Soon… you will realize that you are just doing the same thing again and again. If you are not comfortable with a certain module, do take another additional license before the final graduation because failing it will be another JPY 10,000 (1x additional lesson, and 1x final exam fee) !
After clearing Stage 2, you book the graduation exam. There are usually two exam courses (Course 1 and Course 2), and you won’t know which you’ll ride until the day. Many schools only do exam days on specific days of the week — weekends fill up fast.
Scoring starts at 100 points. You need 70 or above to pass. Certain mistakes (falling off the plank, hitting pylons, putting a foot down in the crank) are immediate disqualifications — the examiner will call you to stop.
The final piece people often overlook: indicator timing and road positioning. The examiner watches everything — checking mirrors, signaling with correct timing before turns, positioning to the left before left turns. These small road-rule points can rack up deductions fast even if your obstacle course riding is fine.
If you fail, you’ll need one mandatory remedial lesson before you can rebook. Most schools schedule re-exams within a week.
After passing the graduation exam, you take the certificate to your local license center (運転免許センター) to get the actual license issued.
Helpful Tips
- Sometimes the instructors can offer contradicting advice (I certainly faced this and got very confused). During exam, just do what you think can make you pass.
- Watch YouTube before every lesson. I have included my sources when I was struggling with each of the items. Search for the specific exercise (e.g., “一本橋 コツ” or “スラローム 大型”) and watch multiple clips.
- Consider booking an optional extra practice session before your exam. Most schools offer this for around ¥2,000–¥3,000 per slot. It’s worth it — the extra time on Course 2 in particular pays for itself in confidence.
- Don’t fear failing the review lessons. Both blog writers mentioned needing repeat attempts at review stages — it’s completely normal and the instructors have seen it all. The exam is what matters.
End Notes
After going through the exam day usually starting in the morning like 8:30am to 11am (some schools have an afternoon session it really depends on school), you will get a certificate of passing and exchange for a license at the driving center. Mine was at Koto Driving Center. They only work MONDAY TO FRIDAY for motorcycles so don’t go on Sat like me.
I hope this guide can help you smoothly pass the Japanese Motorcycle License test! Got questions about getting your motorcycle license in Japan? Drop a comment below — I’ll keep this guide updated. And if you’re already licensed and looking for your next ride, check out my gear reviews and riding guides for riding in Japan.
Getting your license? Don’t guess your gear size.
While I am not a strong proponent of ATGATT, it is very easy to get injured as a new rider. Most new riders in Japan end up buying the wrong size — especially when ordering online or switching between brands.
On Hanami Bike, I break down for ladies:
- Which motorcycle gear brands run small or large
- Real-world fit insights from riders
- A smart sizing tool to get your best fit instantly
👉 Start here:
HanamiBike Women Gear Sizing Guide